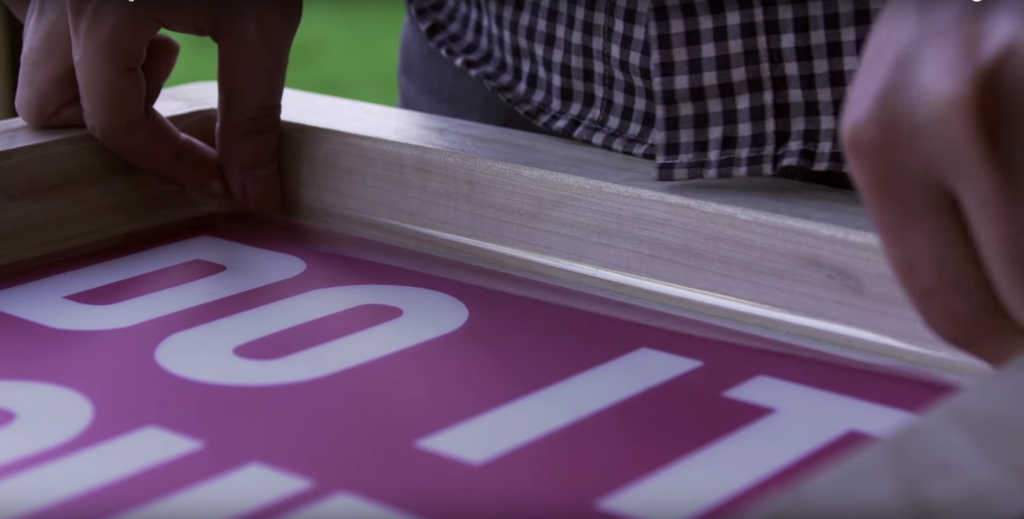
Screen printing, often referred to as silk screening, is a versatile and cost-effective method for transferring designs onto various surfaces, including textiles, paper, wood, and more. Whether you aspire to create custom-designed t-shirts, eye-catching posters, or unique art pieces, delving into the world of DIY screen printing can be a deeply rewarding and creative journey. In this comprehensive guide, we will take you through the screen printing process from start to finish, offering detailed insights and expert tips to help you unlock your inner artist and produce professional-quality prints right in the comfort of your own home.
Gathering Your Materials
Before embarking on your screen printing adventure, gather all the essential materials you’ll need for a successful project. Having everything at hand will streamline the process and ensure a smoother printing experience. Here’s a comprehensive list of what you’ll require:
- Screen: Select a screen with a mesh stretched over a frame. The mesh’s thread count should be chosen based on the type of project; lower counts work well for thicker ink, whereas higher counts are ideal for intricate details.
- Squeegee: This indispensable tool is used for pushing ink through the screen and onto your printing surface. Squeegees come in various sizes, so opt for one that best suits your project.
- Emulsion: You’ll need photosensitive emulsion and a sensitizer to create the stencil on your screen. Additionally, a scoop coater will be essential for applying the emulsion evenly.
- Screen Exposure Unit: This can be a light table or a dedicated exposure unit equipped with UV lights. Its purpose is to expose your design onto the screen.
- Design: Your chosen design, whether it’s hand-drawn or digitally created, must be transferred onto a transparent film or created through a darkroom process to produce a film positive.
- Screen Printing Ink: Select the appropriate ink for your printing surface (e.g., fabric, paper) and the desired colors for your project.
- Palette: You’ll need a flat surface for mixing and distributing ink during the printing process.
- Masking Tape or Screen Blockout: These materials are used to cover any areas of the screen where you don’t want ink to pass through during printing.
- Screen Printing Press: Although not mandatory for small-scale projects, a press can facilitate even ink distribution and help maintain consistent prints.
- Substrate: The material onto which you’ll print your design, such as t-shirts, paper, wood, or any other surface of your choice.
- Screen Cleaner and Emulsion Remover: To clean and reclaim your screens for future use.
Step 1: Screen Preparation
A well-prepared screen is the foundation of successful screen printing. Follow these steps to ensure your screen is ready for the printing process:
- Mesh Tension: Ensure that the screen mesh is taut and evenly stretched across the frame. Tighten any loose areas to avoid uneven printing.
- Emulsion Application: Using a scoop coater, evenly apply a layer of emulsion onto the screen’s mesh. This should be done in a darkroom or under yellow safelight conditions. Allow the emulsion to dry in a dark and dust-free environment.
- Creating Your Stencil: Position your design (film positive) onto the screen exposure unit. Place the coated screen on top, ensuring a tight seal. Expose the screen to UV light, adhering to the manufacturer’s instructions for exposure time.
- Rinsing the Screen: Wash the exposed screen with a gentle spray of water, starting with a fine mist and gradually increasing the water pressure. The emulsion will wash away, leaving your design as a stencil on the screen. Allow the screen to dry thoroughly.
Step 2: Setting Up for Printing
A well-organized workspace is crucial for a successful printing session. Follow these steps to ensure you’re set up for success:
- Securing the Substrate: Ensure that the substrate you’ll be printing on, such as a t-shirt, is flat and firmly secured to the printing surface. This prevents unwanted movement during the printing process.
- Screen Alignment: Position the screen over the substrate, ensuring that your design aligns correctly and will print in the desired location.
- Ink Application: Apply a line of ink just above the design area on the screen. The ink should be of a suitable consistency, thick enough for coverage yet spreadable.
Step 3: The Printing Process
With your workspace and materials prepared, it’s time to dive into the printing process itself:
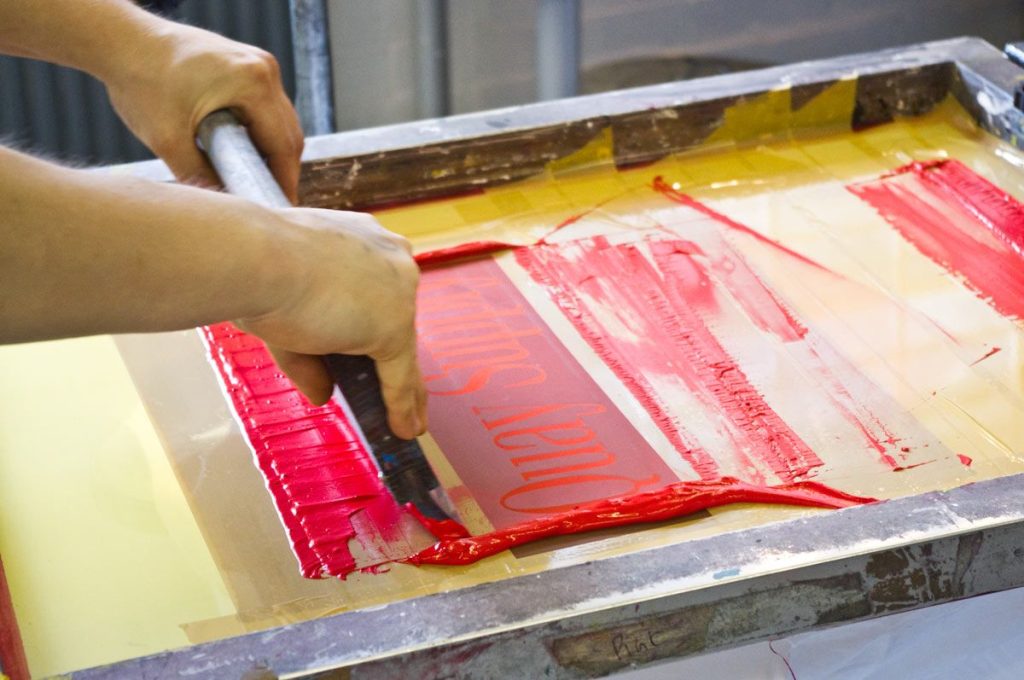
- Flood the Screen: Before printing, use the squeegee to flood the screen with ink. This is done by pulling the ink from the top to the bottom of the design area.
- Printing Your Design: With firm, even pressure, use the squeegee to pull the ink across the screen from top to bottom. Ensure that the squeegee covers the entire design area, applying consistent pressure throughout.
- Lift and Inspect: Gently lift the screen to reveal your printed design. Take a moment to carefully inspect the print for any imperfections, such as missed spots or smudges.
- Curing the Print: Depending on the type of ink used, you may need to heat-set the print using an oven, heat press, or similar method. Refer to the manufacturer’s instructions for curing time and temperature.
Step 4: Clean-Up
Maintaining the cleanliness of your equipment and workspace is essential for the longevity of your screen printing materials and the quality of your prints:
- Cleaning the Screen: Immediately after printing, clean the screen to prevent ink from drying and clogging the mesh. Use screen cleaner and a brush or scrubber to remove excess ink.
- Screen Reclamation: To reuse the screen for future projects, apply emulsion remover to dissolve the stencil, and then rinse the screen thoroughly. Ensure the screen is completely dry before applying new emulsion.
Expert Tips for Successful Screen Printing

Screen printing can be an art that requires practice and finesse. Here are some expert tips to enhance your screen printing skills:
- Practice on scrap material: Before tackling your main project, practice on scrap fabric or paper to get a feel for the process and perfect your technique.
- Maintain consistent pressure: When using the squeegee, apply even and consistent pressure to ensure uniform ink coverage.
- Experiment with different mesh counts: Different mesh counts on your screen will yield different results. Coarser meshes work well for thicker ink and larger designs, while finer meshes are ideal for intricate details.
- Test different inks: Experiment with various types and brands of ink to find the one that best suits your project and desired finish.
- Keep your workspace clean: A clean working environment helps maintain the quality of your prints and extends the life of your screens and equipment.
- Have patience: Screen printing can be challenging, especially when working with intricate designs. Be patient and don’t get discouraged if your first prints aren’t perfect.
DIY screen printing is a rewarding and versatile craft that empowers you to create custom prints on a variety of surfaces. By following this comprehensive step-by-step tutorial and honing your technique through practice, you can master the art of screen printing and produce professional-quality prints right from the comfort of your own home. So, roll up your
sleeves, gather your materials, and let your creativity flow as you embark on your screen printing journey. With dedication and practice, you can unlock the full potential of this artistic and practical skill, creating unique prints that leave a lasting impression.
Choosing the Right Screen Printing Mesh Count
When it comes to screen printing, one crucial factor that significantly impacts your final print is the mesh count of the screen. The mesh count refers to the number of threads per square inch on the screen. It plays a pivotal role in determining the level of detail and ink deposit in your print. In this section, we’ll delve deeper into the significance of mesh count and how to choose the right one for your specific screen printing project.
Understanding Mesh Count
Mesh count is typically expressed as threads per inch (TPI) or threads per centimeter (TPC), depending on your location and preference. A screen with a higher mesh count has more threads tightly woven together, resulting in smaller openings or “holes” in the mesh. Conversely, a lower mesh count means fewer threads with larger openings.
Here’s a breakdown of common mesh counts and their recommended uses:
- 230-305 TPI (90-120 TPC): These high mesh counts are ideal for fine detail work and printing on smooth surfaces, such as paper and cardboard.
- 155-196 TPI (61-77 TPC): Medium mesh counts are suitable for a wide range of general-purpose printing, including textiles, posters, and art prints.
- 86-110 TPI (34-43 TPC): Lower mesh counts are excellent for printing on fabrics, especially when thicker ink deposits are needed. They are often used for printing on t-shirts and textiles.
- 24-71 TPI (9-28 TPC): These coarse mesh counts are reserved for specialty applications, such as printing on wood, glass, or other non-traditional surfaces.
Choosing the Right Mesh Count

Selecting the appropriate mesh count for your screen printing project is crucial to achieving the desired results. Here are some considerations to help you make the right choice:
- Design Complexity: If your design includes fine details and intricate lines, opt for a higher mesh count to ensure those details are accurately reproduced. High mesh counts are also suitable for halftone printing, which relies on subtle variations in ink density to create images.
- Ink Type and Thickness: Consider the type of ink you’ll be using. Thicker inks, such as those used for printing on dark-colored fabrics, may require a lower mesh count to allow for a higher ink deposit. Conversely, thinner inks work well with higher mesh counts.
- Substrate: The material you’re printing on plays a significant role. Fabrics like t-shirts and textiles generally work best with mesh counts in the medium to lower range. For paper, cardboard, and other flat surfaces, higher mesh counts are suitable.
- Ink Coverage: If your design requires heavy ink coverage, such as solid blocks of color, a lower mesh count may be more appropriate. This allows for a higher volume of ink to pass through the screen.
- Resolution and Sharpness: Higher mesh counts provide better resolution and sharpness for fine lines and small text. If your design relies on these elements, a high mesh count is advisable.
- Experimentation: Don’t hesitate to experiment with different mesh counts to see how they affect your prints. Printing a test run with various mesh counts can help you determine which one works best for your specific project.
- Ink Compatibility: Check with your ink supplier or manufacturer for recommendations on mesh count based on the type of ink you plan to use. They may have specific guidelines to achieve optimal results.
The choice of mesh count is a critical factor in achieving successful screen prints. By understanding the relationship between mesh count and your project’s requirements, you can make informed decisions that lead to the best possible outcomes. Whether you’re aiming for fine art prints, customized t-shirts, or any other screen printing project, selecting the right mesh count is a key step in ensuring the quality and accuracy of your final prints. So, before you start your next screen printing endeavor, take the time to carefully consider your mesh count options and choose the one that aligns with your creative vision.

